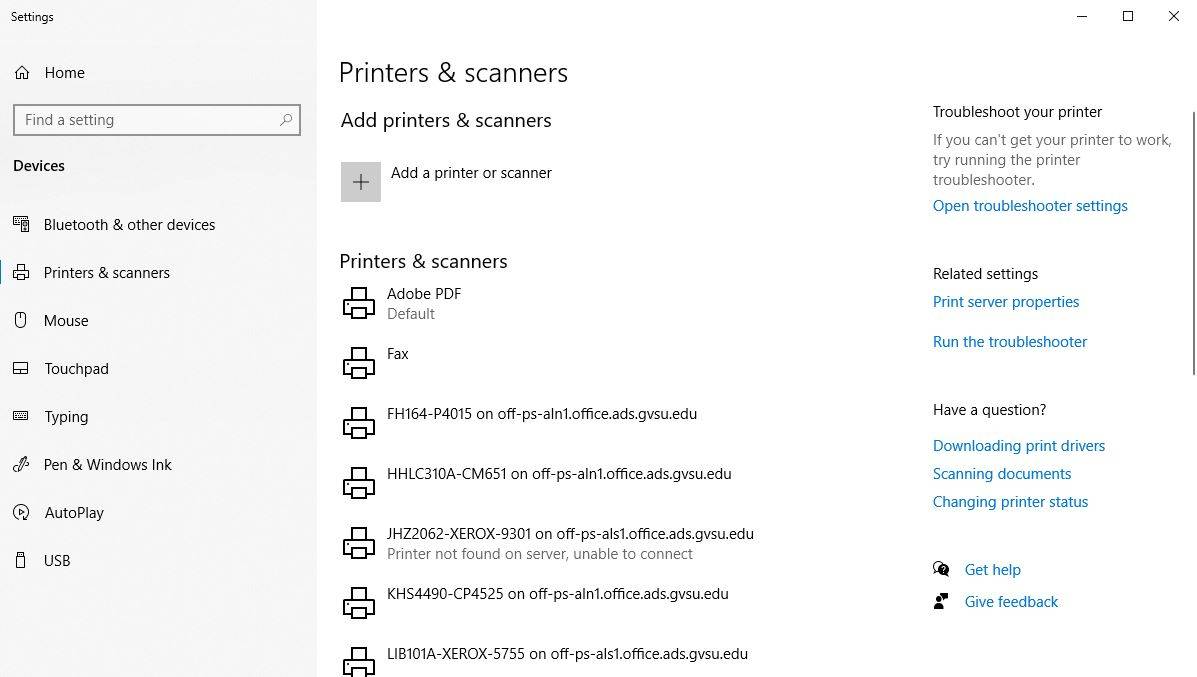
Installing a Network Printer in Windows 10
Review the 2021 Xerox Refresh Schedule for all GVSU campuses (May 20-June 29)
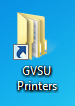
To install a network printer in Windows 10, locate and open the "GVSU Printers" folder on your desktop.
If you do not see the GVSU Printers folder icon on the Windows Desktop, look for the OFFICE DFS folder icon. If you see that icon on your desktop, double-click it to open in. Inside, you should see the GVSU Printers folder icon. Double-click that folder as well to open it.
If you do not see either of these folders, click on the Windows search area in the bottom left of your screen, and type: \\office\dfs\gvsu-printers

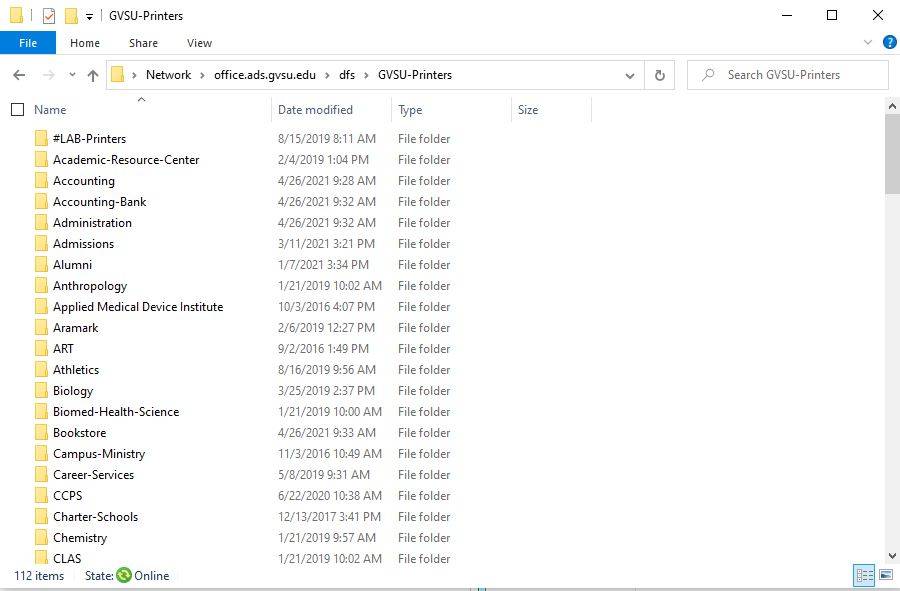
Once you have the GVSU Printers folder open, you should have a window similar to the one displayed. It will have a folder with your department name. This is where your department printers are located. There should also be a XEROX Copiers folder. This is where you can install a Xerox copier/printer if your office has one.
Double click on the printer you wish to install, a new dialogue box will open letting you know the printer is being installed in the background.
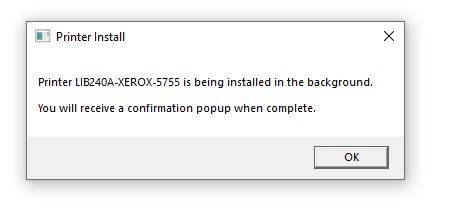
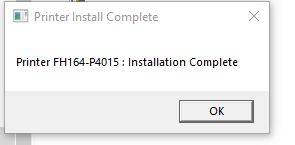
A new dialogue box will open when the printer has finished installing.
The printer will now appear in your list of printers and scanners, and will be ready for use.