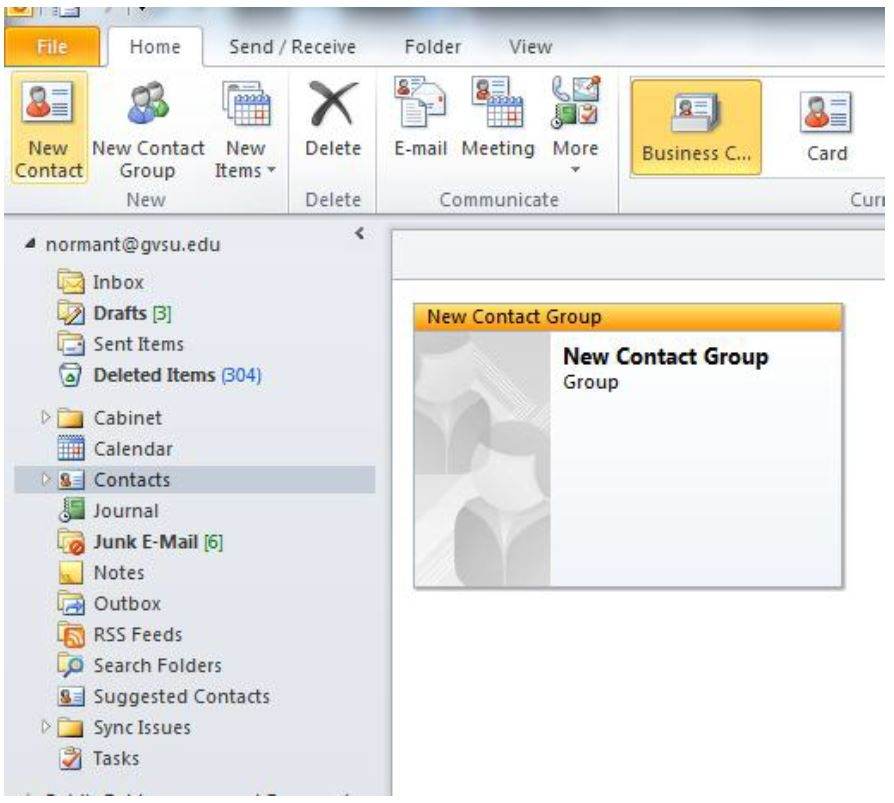
How to Add a New Group in Outlook 2010 for Windows
- Click the Home Tab in the Ribbon, click New Items icon.

2. A drop down menu will appear – at the bottom click on the More Items icon. Another drop down menu will appear – click on the Contract Group.

3. In the Name box type in the name of the Contact Group
4. Next, click on the Add Members icon – at this point you can select to add members from the Outlook Global Address book (From Address Book), or your contacts (From Outlook Contacts), or you can create a new contact (New Email Contact) and add it to your Contact Book.
5. Click the Save & Close icon (in the Actions Group once you have finished adding members to your Contacts Group.
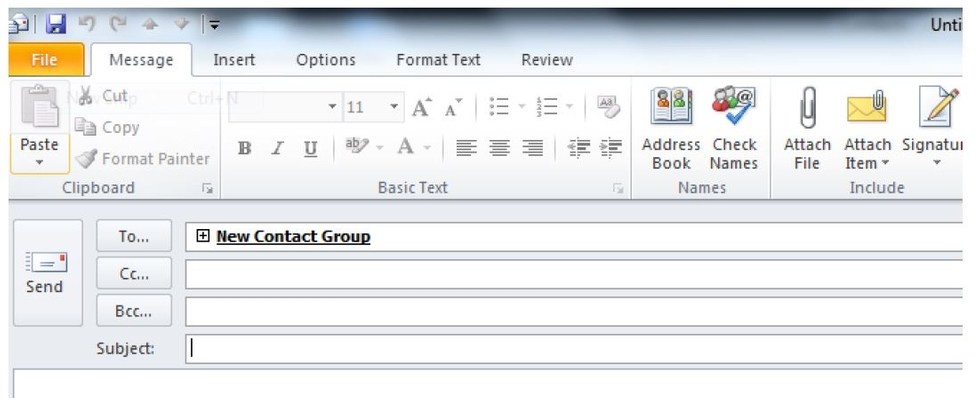
To Send an Email to the Contact Group
- On the Navigation Pane (located on the left hand side of the Outlook client screen click on the Contacts icon.
2. Click on the Contact Group needed
3. Click on the Email icon located on the Communicate Group
4. The system will send the message to the New Contact Group in this example
Note: If you want to expand the group to see other member in the group simply click on the + sign located to the immediate left of the Group