Create An All Day Event In Outlook 2016
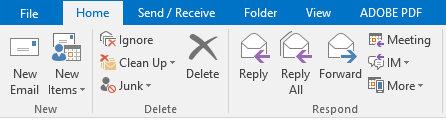
- In the main screen, in the Respond portion of the Ribbon, click on the icon marked Meeting.
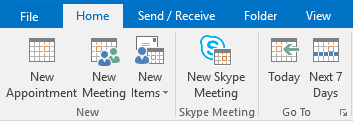
2. Alternatively, if you click on the Calendar icon at the bottom of the Navigation Pane.
[1559317171].png)
3. Then click on the New Meeting icon located in the New group pane.
4. The system will present you with the Meeting form.
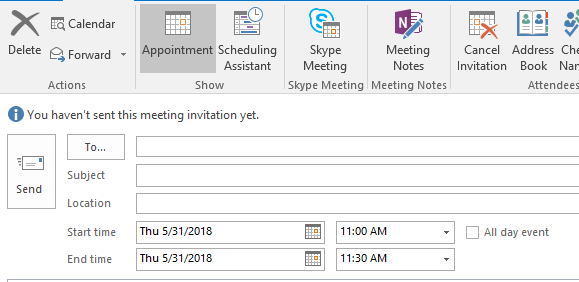
5. To create an All Day appointment, fill in the information. To the right of the box marked Start Time is a box marked All Day Event - check this box. (you’ll need to fill in the ‘Start Time’ date information and the ‘End Time’ date information, but not the start and end times).

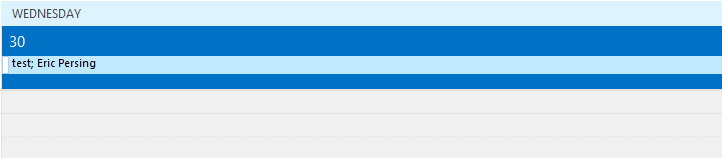
6. When all information has been entered then click the Send icon. The following will appear at the top of your calendar on the day your created the All Day Event