GVSU Request Remote Help
1. If you are experiencing a computer related issue on your GVSU Windows 7 machine, it could possibly be resolved by a IT support person by using a remote connection to your computer.
This process will allow the IT support person (remote user) to be able to work with you (end user) on your machine without having to come to your location. The remote connection default is to allow the remote user to view the end users' desktop and observe what the end user does. The end user can also grant the remote user access to share control of your desktop to help resolve an issue. It is highly recommended that the remote user and end user communicate over the phone during this process, but a chat option is also available.
Starting the Remote Connection
End User: ( This will indicate who the information below pertains to)
- This is the "Request Remote Help" icon that should be on the desktop of your Windows 7 computer. Double-click on it to start the remote help session.

2. "User Account Control" window may appear to ask you to allow the program to run, click on the "Yes" button.
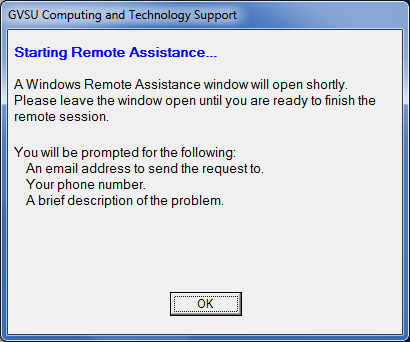
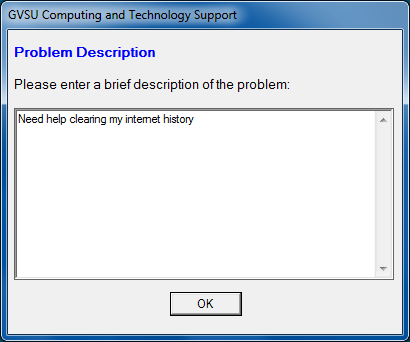
3. The following window will open with the instructions on how to proceed with the remote session, click on the "OK" button.
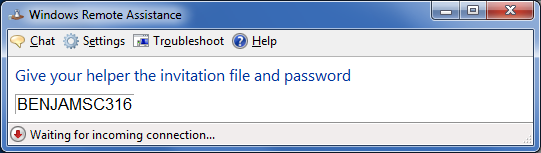
4. This is the code the remote user will enter to connect to your machine.
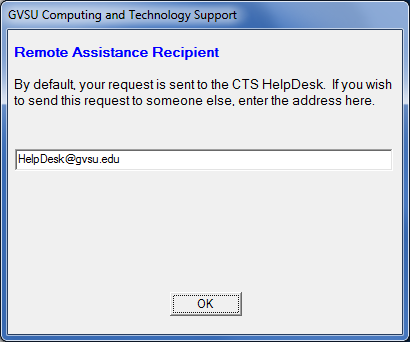
5. The request and code can be emailed to the remote user by entering their email address in this window. The default address goes to the IT Service Desk.
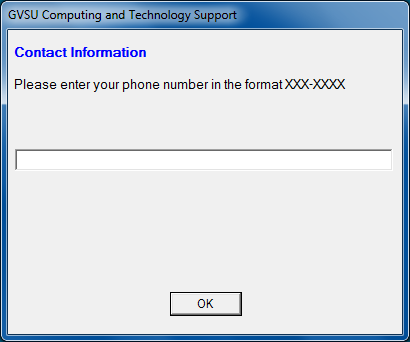
6. Enter your 7 digit phone number in this window.
7. You have the option to pass along any notes you deem important. This will appear in the subject line of the email.
Remote User:
8. The remote user will receive a RemoteAssist email message in their Outlook Inbox.
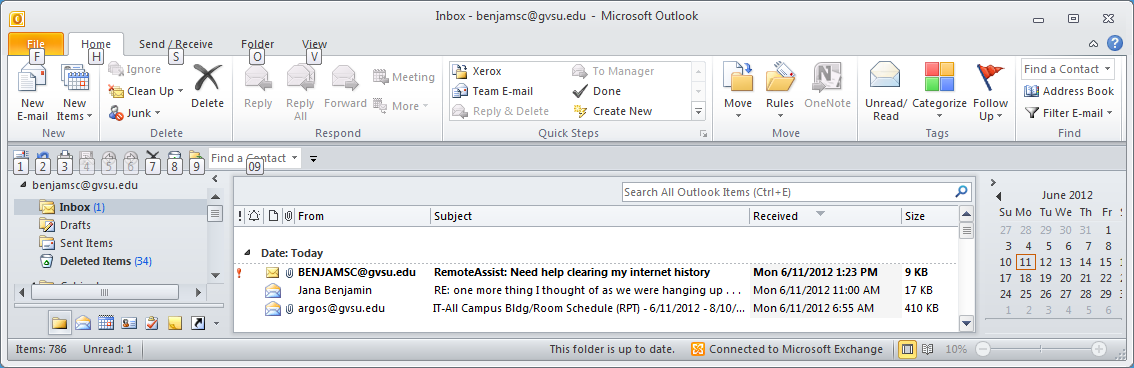
9. The message will contain the information needed for the remote connection to be made.
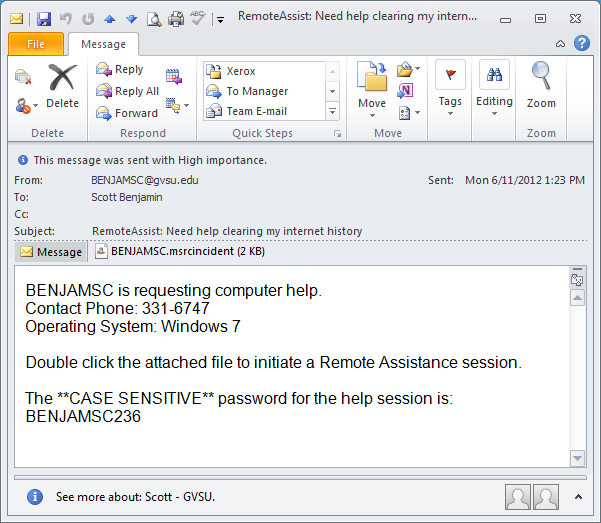
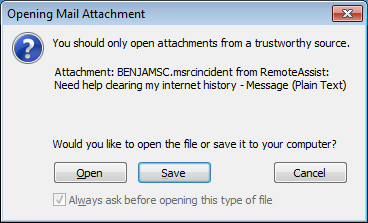
10. The remote user will open the attachment.
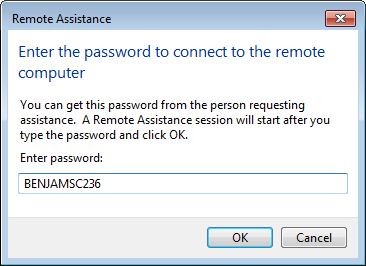
11. The remote user will enter the code from the email and click the "OK" button.
End User:
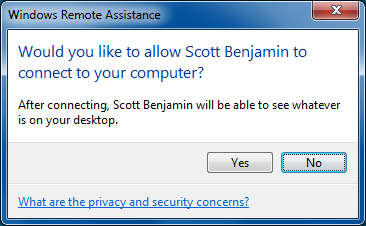
12. The following window will appear on the end user's desktop, click on the "Yes" button to allow the remote connection.
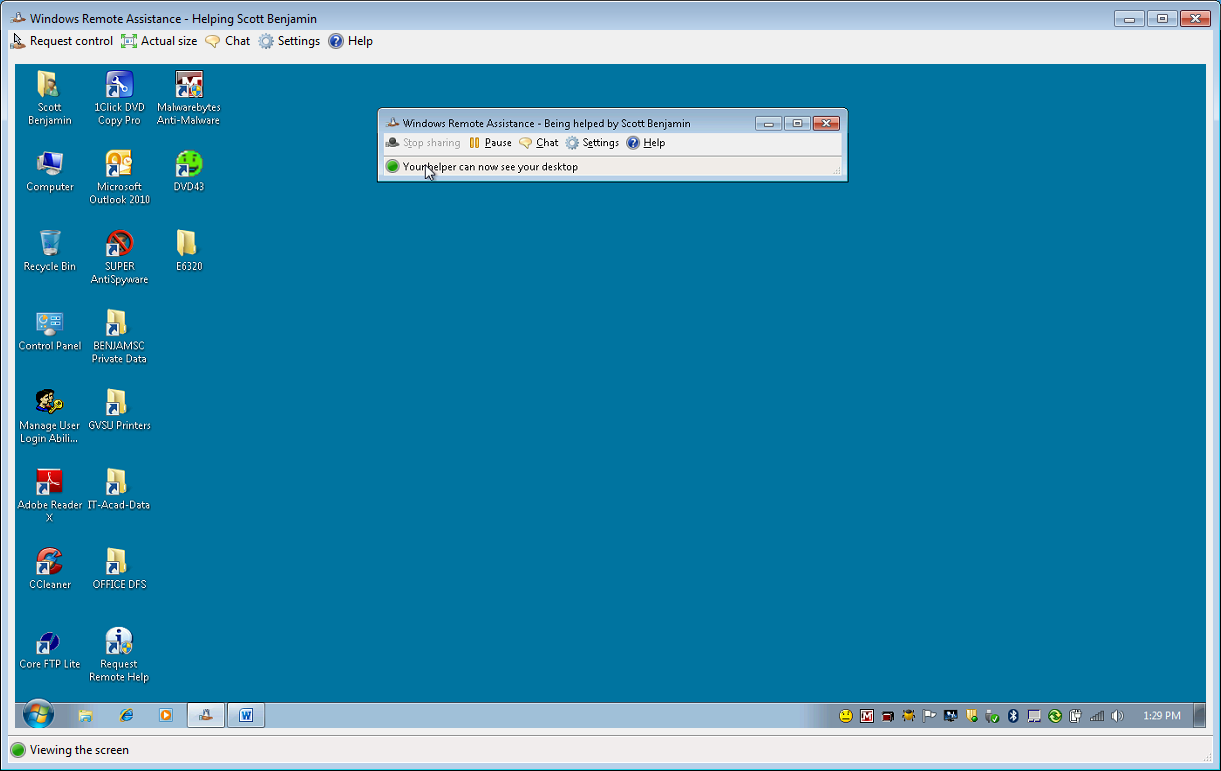
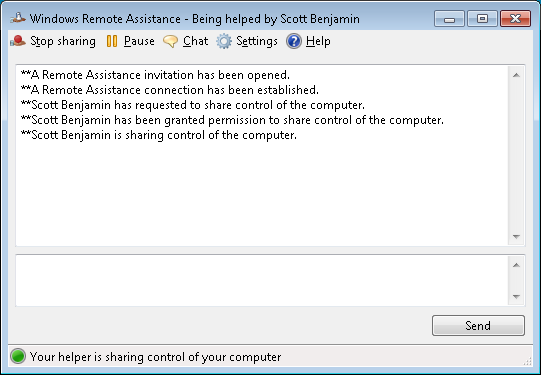
13. The Windows Remote Assistance window will appear on the end user's desktop, listing the person who has remotely connected to your machine.

14. At this point the remote user can only view and observe while the end user has control of the mouse cursor.
Granting Shared Control
Remote User:
15. If it is determine that the remote user could better assist you with your issue by the end user granting them shared control, the remote user can send a "Request Control" from the remote assistance window on their desktop.
End User:
16. The end user must grant the remote user share control access of their machine. You can always decline this option, or rescind it at any time.
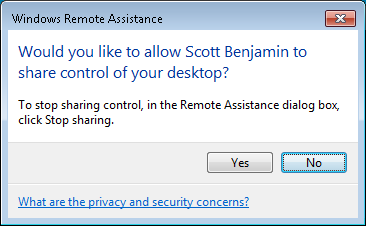
Note: Only One of you can control the mouse cursor at a time.
Chat Option
17. You could use the Chat option to communicate with the remote user if you prefer or cannot use the phone during the remote session. Just click on the "Chat" button to open the typing area.
Stop Sharing & Disconnect
18. When the end user is ready to stop sharing control of their machine with the remote user (hopefully after the issue has been resolved), simply click on the "Stop Sharing" button.

19.The end user can then close the Remote Assistance window by clicking on the red X in the upper right corner. This will disconnect your machine from the remote user.
