Installing a Network Printer on a GVSU Mac
Review the 2021 Xerox Refresh Schedule for all GVSU campuses (May 20-June 29)
NOTE: These instructions are for faculty & staff with a GVSU owned Mac. If you are off-campus, please connect to GVSU's VPN using Pulse Secure before proceeding.
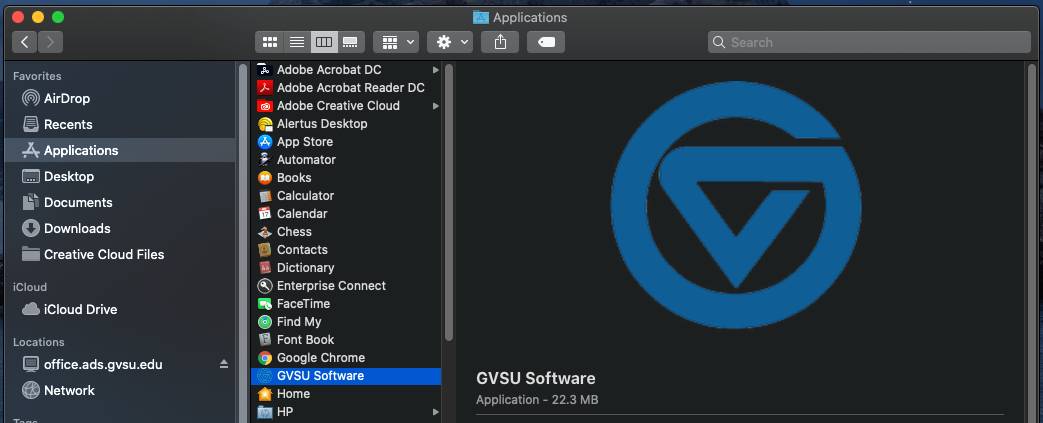
- Open a Finder window and access the Applications folder.
- Double-click GVSU Software to open it.
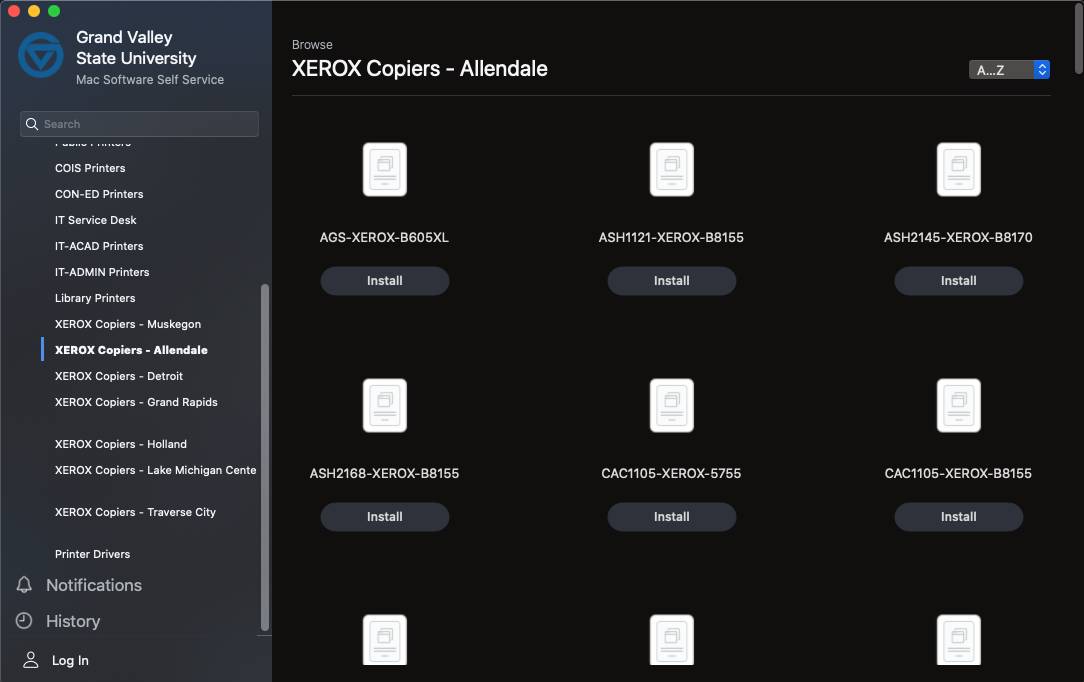
- Choose the appropriate printer group (XEROX-Allendale in this example) in the left-hand column or use the search field at the top of the window to find printers.
- Click the Install button under the printer you wish to install.
Contact the IT Service Desk at 616-331-2101 or [email protected] for further assistance.
After the printers are installed you may need to update the HP or Xerox Printer driver. Select Print Driver on left then the appropriate icon(s) on the right

Removing a Printer from a GVSU Mac
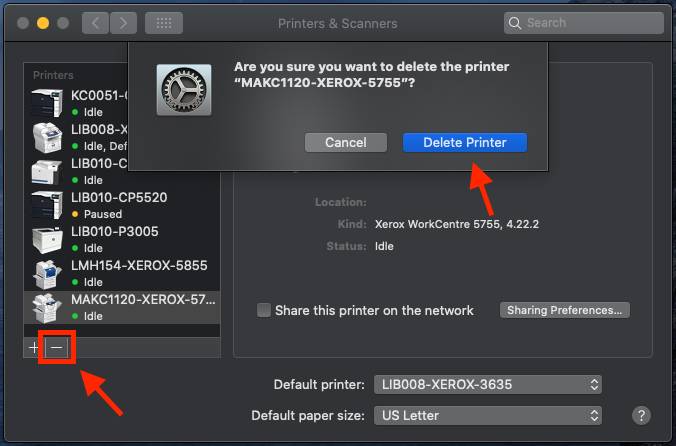
- Click on the Apple menu icon, open System Preferences, and choose Printers & Scanners.
- Select the printer to remove and click the Remove button.
- Confirm removal by selecting Delete Printer.